Common Bathroom Remodel Mistakes to Avoid in 2026
A contractor's field guide to the bathroom remodel mistakes that wreck budgets and finishes, with the real numbers and fixes.

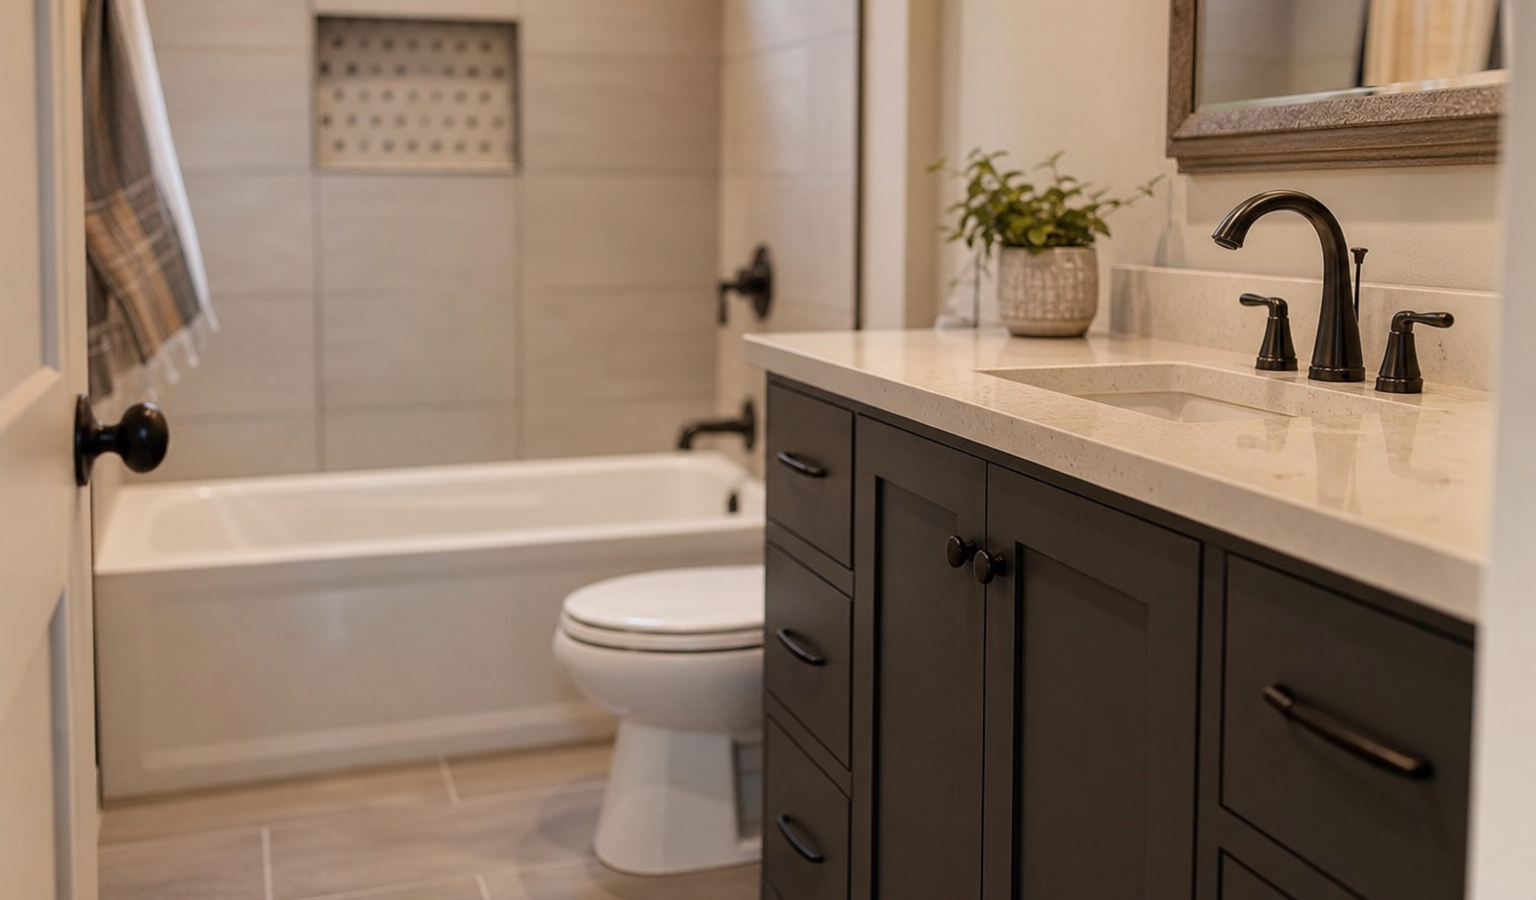
The most expensive bathroom remodel mistakes are rarely the ones you can see. Hidden failures in waterproofing, ventilation, and plumbing cause the damage that forces you to tear out finished work and start over, sometimes at two or three times the original cost. This guide walks through the bathroom remodel mistakes that experienced contractors watch for most, ranked by how much they tend to cost, with the specific numbers, code clearances, and fixes that keep a project on budget and out of trouble.
Key takeaways
- Waterproofing failures are the single costliest mistake, with repairs running $2,000 to $12,000 after the fact.
- Undersized exhaust fans contribute to mold in roughly 40 percent of remodeled bathrooms within three years.
- Between 30 and 50 percent of homeowners blow their budget; a 15 to 20 percent contingency is the fix.
- Ignoring NKBA clearances (15 inches to toilet center, 21 inches of front clearance) creates cramped, non-compliant rooms.
- DIY plumbing and electrical can trigger $10,000 to $50,000 in water damage and void your insurance.
What is the most costly bathroom remodel mistake?
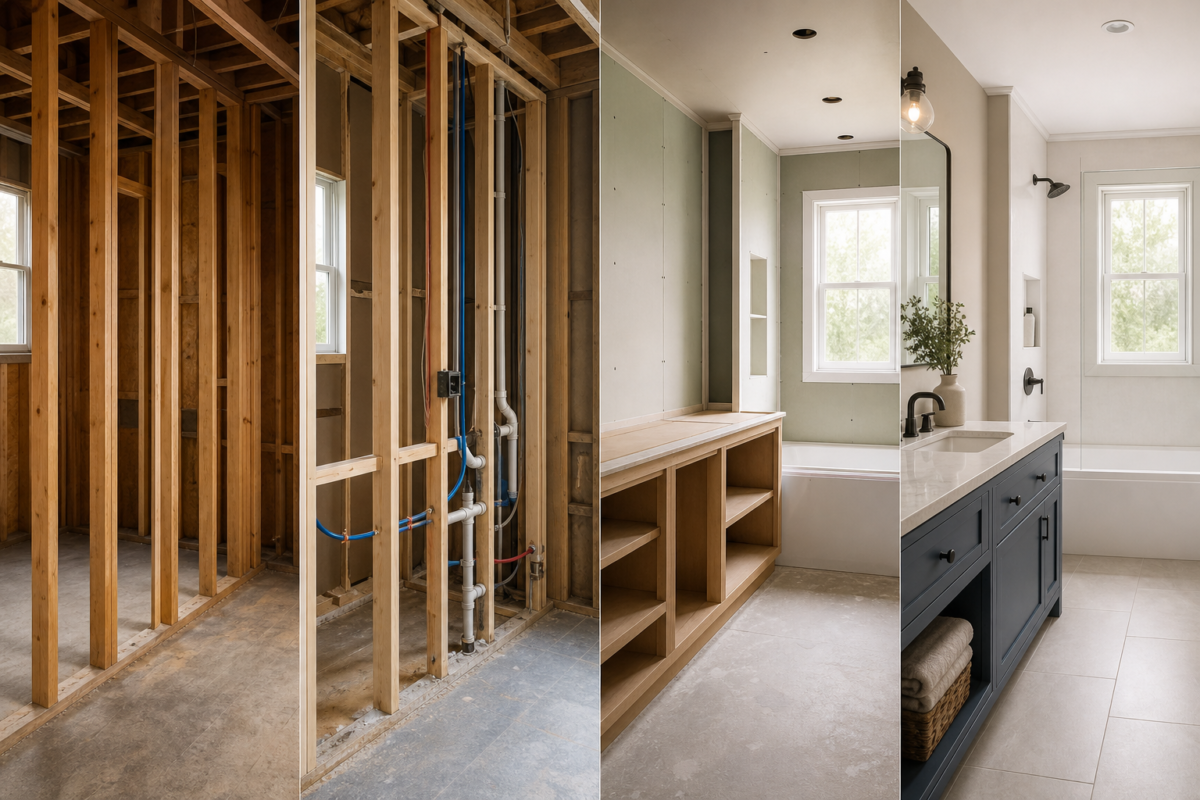
Skipping proper waterproofing is the most costly bathroom remodel mistake, because a leak behind finished tile forces you to demolish and rebuild work you already paid for. A dedicated waterproof membrane adds only $300 to $800 to a shower, but repairing the rot, mold, and subfloor damage from a failed one routinely costs $2,000 to $12,000. Every mistake below is cheaper to prevent than to fix, which is the single most important lesson in remodeling.
The table ranks the most common errors by typical repair cost so you can see where the real risk lives. Notice that the hidden, behind-the-wall items dominate the top of the list.
| Mistake | Cost to fix later | Cost to prevent |
|---|---|---|
| DIY plumbing leak | $10,000 – $50,000 | $1,500 – $5,000 (licensed pro) |
| Failed waterproofing | $2,000 – $12,000 | $300 – $800 |
| Relocating a mislaid fixture | $1,500 – $5,000 each | Plan it once |
| Permit fines / insurance denial | $500 – $10,000 | $200 – $1,500 permit |
| Mold from weak ventilation | $1,000 – $6,000 | $150 – $500 fan |
| Budget overrun | $3,500 avg | 15 – 20% contingency |
Before you commit numbers, ground your plan in realistic pricing with our bathroom remodel cost guide so the budget below has something accurate to protect.
Skimping on ventilation and the exhaust fan
An undersized or missing exhaust fan is the quiet cause of most post-remodel mold, and it shows up in about 40 percent of renovated bathrooms within three years. Size the fan at a minimum of 1 CFM per square foot of floor area, never below 50 CFM, and step up to 150 to 200 CFM if you add a steam shower or large soaking tub.
Venting to the wrong place
A fan is only as good as its duct. The duct must run through insulated ductwork to the exterior, never dumped into an attic or soffit where the moisture simply condenses and feeds mold on your roof framing. The CDC is blunt that controlling indoor moisture is the primary way to prevent mold growth. Choose a fan on a timer or humidity sensor so it keeps running after the shower, and size the duct to match the fan rather than pinching 6-inch flow into 4-inch pipe. Our bathroom exhaust fan guide has the full CFM chart by room size.
One detail contractors see ignored constantly is run length. Every elbow and every foot of flex duct cuts the fan’s real-world airflow, so a fan rated at 110 CFM can move far less once it snakes 15 feet through the attic. Use smooth rigid duct where you can, keep the run short and straight, and bump up a size if the path is long. A quiet fan rated at 1.0 sones or less is also worth the extra $40, because a loud fan is one you will never leave running long enough to do its job.
Cutting corners on waterproofing
Cement backer board is water-resistant, not waterproof, and treating it as the finished barrier is how showers fail. Every shower and tub surround needs a continuous waterproof membrane behind the tile, either a sheet system like Schluter KERDI or a liquid-applied one like Laticrete Hydro Ban or RedGard.
The membrane has to be continuous at the weak points: inside corners, the curb, the niche, and the drain connection. A single unsealed seam is enough to wick water into the wall cavity. This is also where tile choice matters, because porous tile and cracked grout accelerate the problem. Our bathroom tile guide covers which tiles and grouts belong in a wet area, including epoxy grout for shower floors.
The other half of waterproofing is the pan and drain. A traditional mortar bed needs the right slope, about a quarter inch per foot toward the drain, or water pools and finds the weakest seam. Bonded sheet systems with a matching drain flange simplify this, but only if the installer follows the manufacturer’s overlap and bonding instructions. Mixing brands, say a liquid membrane with a mismatched drain, voids the warranty and is a frequent source of slow leaks that take years to reveal themselves as a soft subfloor or a stain on the ceiling below.
Ignoring layout and clearance rules
Cramming fixtures too close together is a mistake you feel every day and cannot cheaply undo. Follow NKBA clearances: 15 inches from the center of the toilet to any side wall or fixture, at least 21 inches of clear floor in front of the toilet and vanity (30 inches is better), and 24 inches of clearance for a door swing. Relocating a fixture after the fact runs $1,500 to $5,000 each.
The National Kitchen and Bath Association publishes these clearances precisely because crowded layouts are the most common regret. Plan the fixture positions before you fall in love with a vanity that will not leave room to open the door. Our bathroom layout ideas guide shows floor plans that hit these numbers in small and large footprints alike.
Planning a weak lighting layout
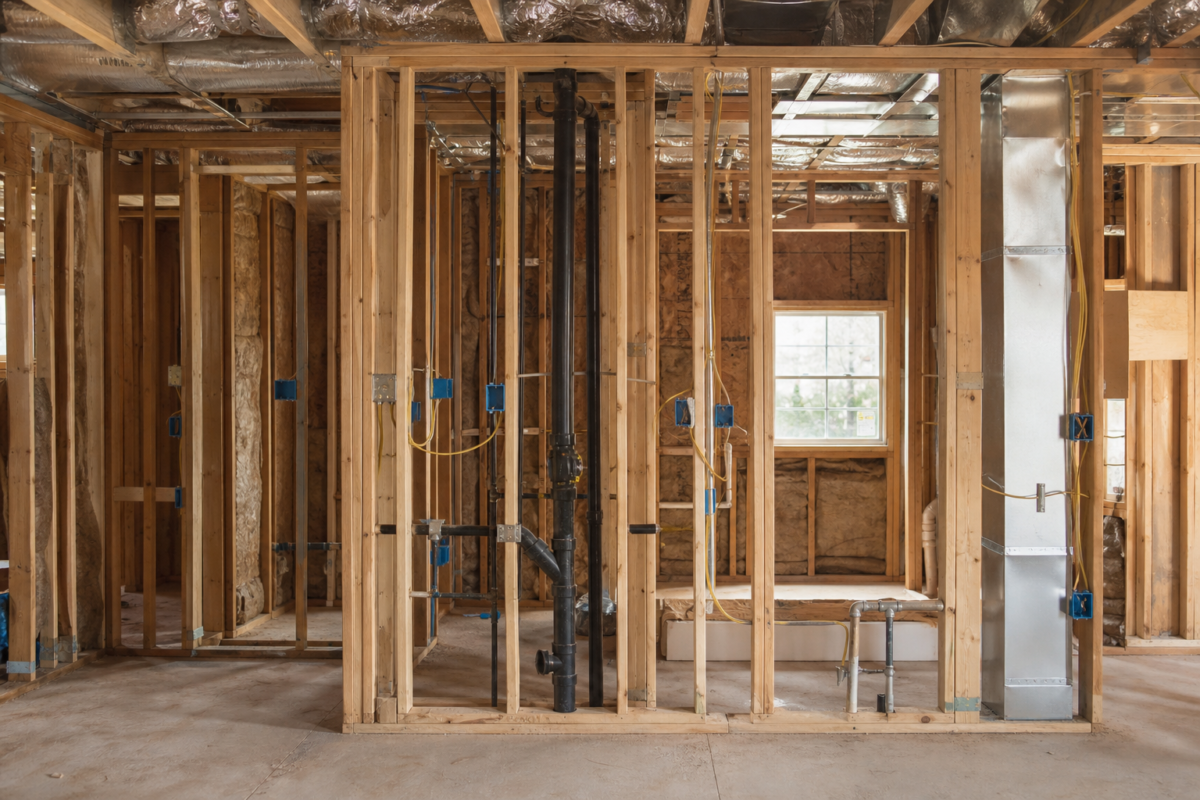
Relying on one overhead fixture is a common mistake that leaves harsh shadows exactly where you need to see, at the mirror. A good plan layers ambient, task, and accent light, with vanity lighting delivering 75 to 100 watts of warm-white light in the 2700K to 3000K range and sconces mounted at roughly 60 to 66 inches above the floor to light the face evenly.
Put the main fixtures on dimmers so the room can shift from bright grooming light to a calm evening setting. Skipping a dedicated circuit or forgetting a switch location is cheap to fix during rough-in and expensive afterward. Our bathroom lighting guide details the layered approach and fixture placement.
Underestimating storage
Designing for looks and forgetting storage is a mistake that surfaces the week you move back in. A guest bath needs 6 to 8 cubic feet of storage and a primary bath closer to 12, with room for 8 to 12 towels for a family of four. Recessed medicine cabinets, a drawer stack in the vanity, and a built-in shower niche add capacity without stealing floor space.
The best time to add storage is during framing, when a recessed niche or a wall of shallow cabinetry tucked between the studs costs very little and never intrudes on the floor you actually stand on. Our bathroom storage ideas guide covers the solutions that fit without crowding the room.
Choosing the wrong materials for a wet room
Using the wrong material in a wet environment guarantees early failure. Standard drywall degrades in humid conditions within two to three years and has no place in a shower; use cement board or a foam backer behind the membrane. Pick vitreous or porcelain tile with water absorption below 0.5 percent for showers, and choose floor tile with a DCOF slip rating of 0.42 or higher so a wet floor is not a hazard.
Grout and sealing details
Unsanded grout cracks in wide joints, and standard cement grout stains and absorbs water on a shower floor. Epoxy grout costs more and is harder to work with, but it resists water and staining far better in the wettest zones. Seal natural stone on a schedule; a beautiful marble floor left unsealed will etch and stain within a season.
DIY-ing plumbing and electrical
Taking on plumbing or electrical yourself to save money is the mistake with the worst downside. A single hidden supply-line leak can cause $10,000 to $50,000 in water and mold damage, and faulty wiring near water is a genuine safety hazard. Cosmetic work like painting, hardware, and even some tile is fair game for a confident homeowner; moving pipes, adding circuits, and tying into the main stack are not.
If you are weighing how much to do yourself, draw the line at anything behind the wall or inside the panel. Licensed work also keeps your warranty and insurance intact, which matters the day something goes wrong.
Contractor’s take
The job that comes back to bite homeowners most is a shower waterproofed by someone who thought backer board was enough. I flood-test every shower pan for 24 hours before a single tile goes on. It costs nothing but a day, and it is the difference between a shower that lasts 20 years and a callback that tears out a finished bathroom. Build in that test and a real contingency, and you have avoided the two mistakes that sink most projects.
Budgeting without a contingency or permits
Between 30 and 50 percent of homeowners exceed their original bathroom budget, with an average overrun near $3,500 on a $15,000 project. The fix is a 15 to 20 percent contingency set aside before you start, because old houses hide surprises behind every wall: rotted framing, out-of-code wiring, and galvanized pipe that has to go.
Skipping permits to save $200 to $1,500 is a false economy. Unpermitted work can draw fines of $500 to $10,000, stall a future sale, and void insurance coverage for water damage. Pull the permits, keep the paperwork, and build the contingency in from day one. Our budget bathroom remodel guide shows where to trim honestly without cutting the items that cause these failures.
Your next move
You know the number. What are you deciding next?
Walk-in tub cost in 2026: $5,000 to $20,000 installed. Compare tub types, features, and the real Medicare coverage…
Continue →Bathroom remodel financing explained: compare home equity loans, HELOCs, cash-out refi, personal loans, and 0% cards with 2026…
Continue →Steam shower cost runs $3,000 to $10,000 installed in 2026. See prices by generator size, enclosure, and prefab…
Continue →Frequently asked
Bathroom remodel mistakes FAQs
What is the biggest mistake people make remodeling a bathroom?
Inadequate waterproofing is the biggest and costliest mistake. A proper membrane adds only $300 to $800, but a failure behind finished tile forces a $2,000 to $12,000 tear-out and rebuild. Treat waterproofing, not the finishes, as the part you never cut.
What size exhaust fan do I need?
Use at least 1 CFM per square foot of floor area, with a 50 CFM minimum. A 100-square-foot bathroom needs a 100 CFM fan, and a steam shower or large tub pushes that to 150 to 200 CFM. Always vent to the exterior, never the attic.
How much contingency should I budget?
Set aside 15 to 20 percent of your itemized estimate for surprises. Older bathrooms routinely hide rotted framing, outdated wiring, and failing pipes that only appear after demolition, and this reserve keeps those discoveries from derailing the project.
Do I really need a permit for a bathroom remodel?
Yes, if you move plumbing, alter electrical, or change the structure. Permits cost $200 to $1,500, while unpermitted work risks $500 to $10,000 in fines, a stalled home sale, and denied insurance claims for water damage. Cosmetic-only updates usually do not need one.
What bathroom work is safe to DIY?
Painting, installing hardware and accessories, and sometimes simple tile are reasonable DIY projects. Draw the line at anything behind the wall or inside the electrical panel: moving plumbing, adding circuits, and tying into the main stack should go to licensed pros to avoid catastrophic water damage.

Clearances follow NKBA guidelines; repair and overrun figures reflect 2026 US contractor data.