How to Paint Kitchen Cabinets Like a Pro (2026 DIY Guide)
A weekend project that transforms a kitchen for a few hundred dollars - if you nail the prep. Here's the exact process, in order.

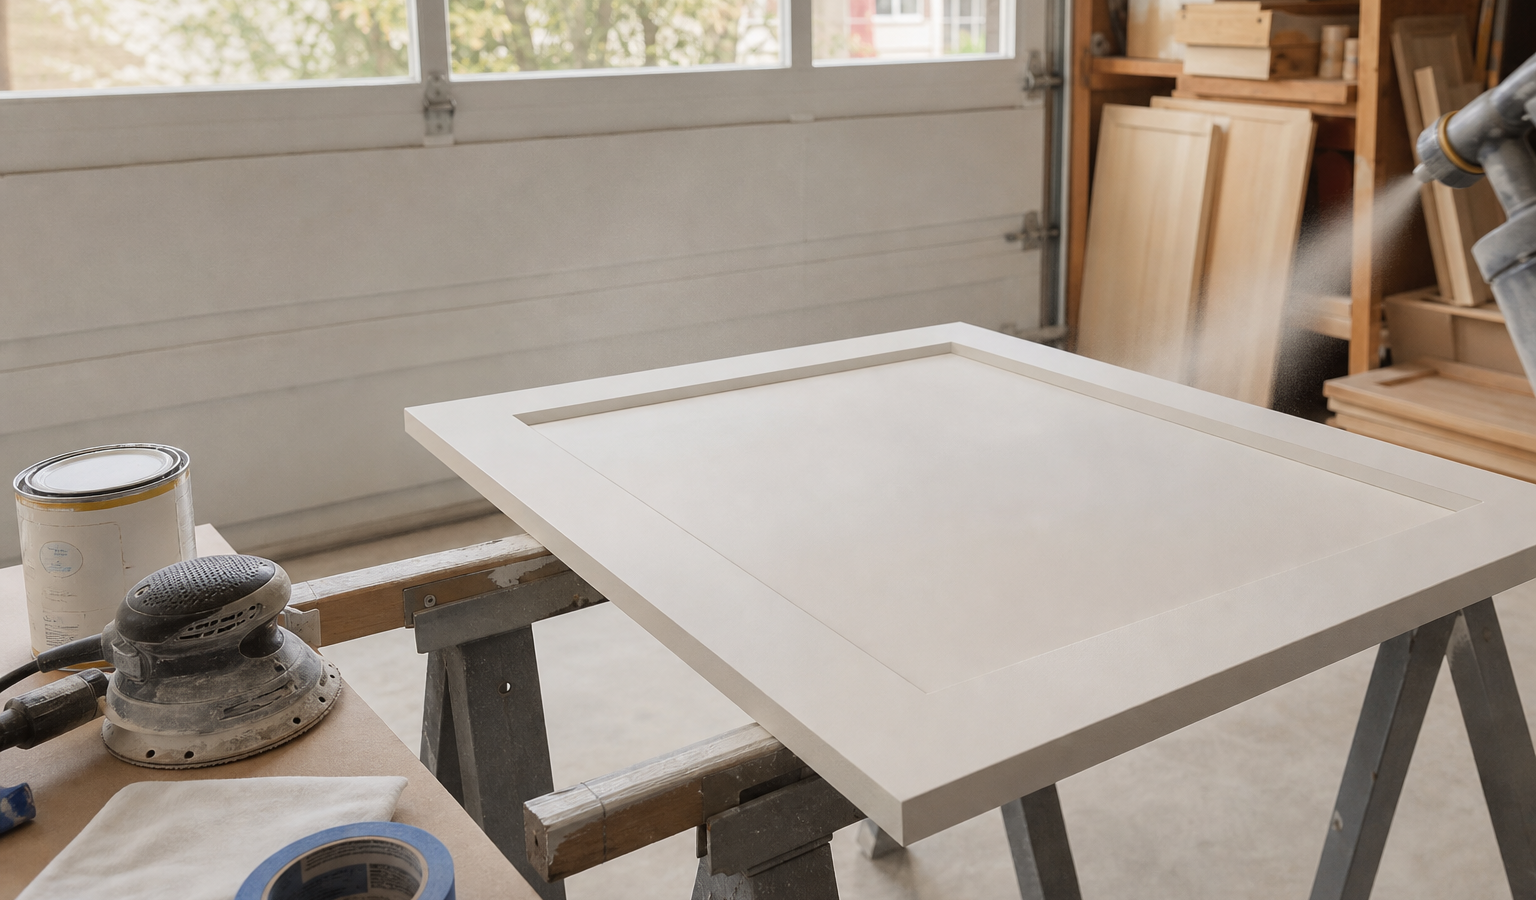
Painting your cabinets is the single most transformative thing you can do to a kitchen on a budget – a $200 to $600 project that can make a dated kitchen look brand new, and one that saves roughly $2,500 versus hiring it out. But there’s a catch: how to paint kitchen cabinets well is 90% preparation. The color coat is the easy part; the degreasing, sanding, filling, and priming are what separate a factory-smooth finish that lasts a decade from a peeling mess in six months. Here is the exact professional process, in order, plus the drying-versus-curing timeline and the mistakes that cause almost every failure.
Before you start
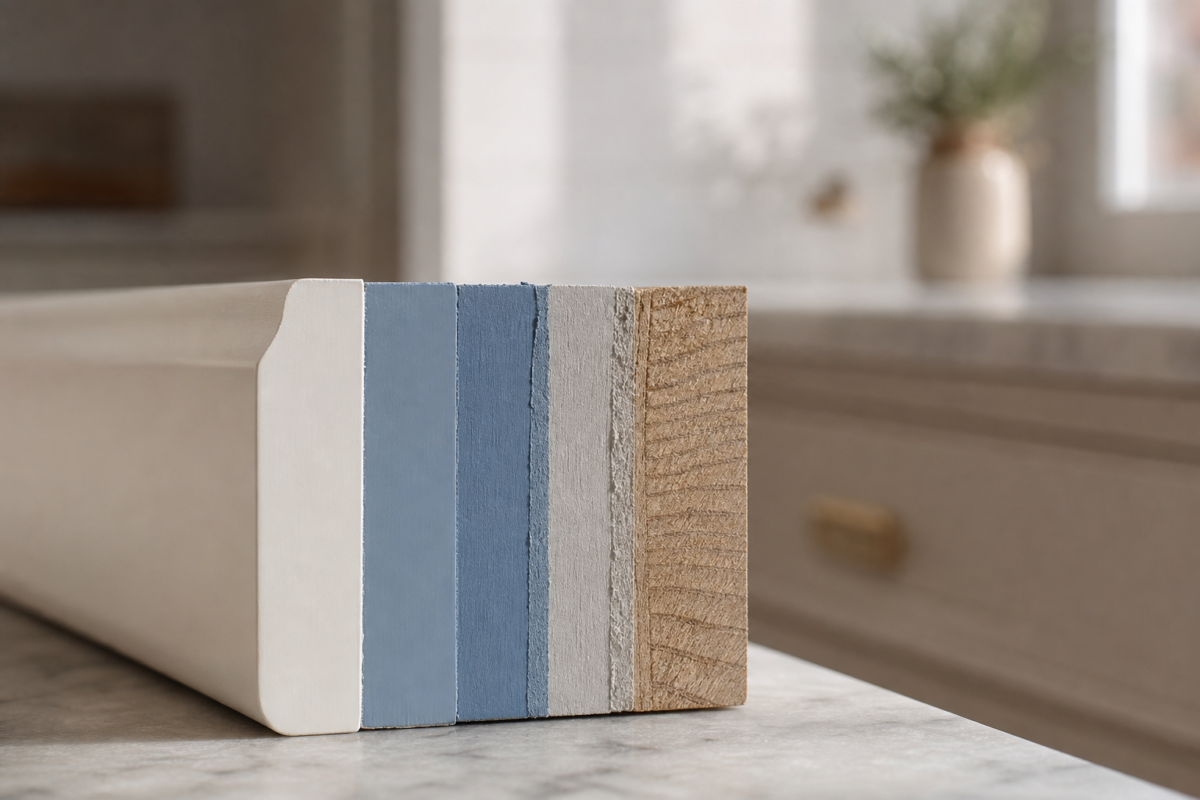
Painted cabinets live or die on prep. Set aside a full week (most of it is dry and cure time, not active work) and resist the urge to rush – it’s the one mistake you can’t undo once doors are hanging again. You’ll also want ventilation, a respirator for oil-based or shellac-based primers, and a system for keeping track of every door and hinge, working during a run of days with mild humidity since paint cures slowly in damp air. If painting is one piece of a bigger project, check our kitchen remodel timeline for how it fits the schedule.
Safety first
Work in ventilation, wear a respirator for oil-based or shellac-based primers, and unplug under-cabinet outlets before you tape. Store oily rags in a sealed metal can – they can combust as they dry.
Tools and materials, with 2026 costs
Gather everything before you begin. Here is what a typical kitchen with 25 to 35 doors and drawers costs to paint yourself in 2026:
| Item | Typical cost (2026) | Why it matters |
|---|---|---|
| TSP or heavy-duty degreaser | $8 – $15 | Strips the invisible cooking grease paint cannot bond to |
| Sandpaper (120 and 220 grit) or liquid deglosser | $10 – $20 | Gives the primer a surface to grip |
| Wood filler and a flexible putty knife | $8 – $15 | Fills dents, nail holes, and worn grain |
| Bonding primer, 1 gallon | $30 – $60 | The single biggest factor in long-term adhesion |
| Cabinet enamel paint, 1-2 gallons | $60 – $150 | Hard, washable topcoat rated for high-touch surfaces |
| Angled sash brush and foam mini rollers | $15 – $30 | Brush the profiles, roll the flats smooth |
| Painter’s tape, drop cloths, tack cloths | $20 – $40 | Protects countertops, floors, and walls |
| Sprayer rental (optional) | $40 – $70 per day | Faster, near-factory finish on a large kitchen |
| New hinges or hardware (optional) | $20 – $100 | Common upgrade done at the same time |
| Total materials, brush and roller | $200 – $600 | Scales with kitchen size and paint quality |
Best primer and paint types for cabinets
Primer: bonding acrylic, oil-based, or shellac-based
Most kitchens are best served by a waterborne bonding (acrylic) primer: it dries fast, has low odor, and grips glossy factory finishes without heavy sanding. Oil-based (alkyd) primer bonds even more aggressively and blocks stains well, but dries slowly and needs mineral spirits for cleanup – reserve it for stripped wood or heavily stained cabinets. Shellac-based primer is the specialist tool: it dries in about 45 minutes and is the only reliable way to seal tannins or knots that would otherwise bleed through. Many pros spot-prime knots with shellac, then coat the full surface with a bonding acrylic primer.
Alkyd vs. waterborne cabinet enamel
True alkyd (oil-modified) enamels self-level into a glassy, factory-hard finish and remain the durability benchmark, but they take 16 to 24 hours between coats and can yellow slightly over years under whites. Waterborne acrylic-alkyd hybrid enamels have largely replaced pure oil paint for cabinets: a 2 to 4 hour recoat window, low VOCs, soap-and-water cleanup, and near-alkyd hardness once cured. For a first-time DIYer, a hybrid waterborne cabinet enamel is the best balance of durability and workability – never use flat or eggshell wall paint, which stays soft and chips within weeks.
The complete step-by-step process
Follow these eight steps in order – skipping ahead or shortening the dry times between them is how a promising paint job turns into a peeling one.
1. Remove doors, drawers, and hardware
Unscrew every door and drawer front. Label each with painter’s tape and a number so it returns to the exact opening – hinges and drawer slides wear into their spot and won’t line up elsewhere. Remove knobs, pulls, and hinges, and bag the screws with each door.
2. Clean and degrease every surface
Kitchens coat cabinets in a thin, invisible film of cooking grease that paint will not bond to. Scrub every surface – fronts, sides, and the face frame – with TSP mixed per the label or a strong citrus degreaser, rinse with clean water, and let everything dry completely. This single step prevents more peeling than any product you’ll buy.
3. Sand or use a liquid deglosser
Scuff-sand with 120 grit to cut through factory sheen and give primer mechanical tooth, then knock down dust with 220 grit. If you’d rather skip sanding dust in a tight kitchen, a liquid deglosser (also sold as liquid sandpaper) chemically etches the gloss instead – wipe it on and let it flash off. Either way, deglossing does not remove grease, so degreasing still comes first.
4. Fill and repair damage
This is the step most DIY guides skip, and it shows. Fill dents, dings, and nail holes with a paintable wood filler, and press putty into minor gouges in the frame. Re-glue any lifting veneer and clamp until dry. Let filler cure fully, then sand it flush with 220 grit so it disappears under paint rather than telegraphing through as a bump.
5. Prime
Apply one even coat of bonding primer, edges and profiles first, then the flat faces. This is what makes the topcoat stick and stops tannins or stains from bleeding through. Raw wood, major color changes (dark stain to white, for example), and stained cabinets usually need a second primer coat. Let primer cure fully before you sand or paint over it.
6. Sand lightly between coats
Once the primer is fully dry, scuff it with 220 grit and wipe with a tack cloth before the first color coat. Repeat this light scuff-and-tack cycle between every coat. It’s a small step that is the real difference between a hand-brushed look and a glass-smooth, professional one.
7. Paint 2 to 3 thin coats
Brush the profiles and inside corners, then roll the flat panels with a foam mini roller. Two thin coats is the minimum for solid coverage; plan on a third for whites, for any dark-to-light color change, and for cabinets around the range or sink that take the most wear. Thin, even coats always outlast one thick one, which sags and stays soft longer.
8. Let cabinets cure before reassembly
Paint is dry to the touch in hours but not fully hard for weeks. Wait at least 48 to 72 hours before rehanging doors, and handle them gently for a full month to avoid sticking and chipped corners.
Drying time vs. curing time (why patience matters)
“Dry” and “cured” are not the same thing, and confusing them is why freshly painted cabinets end up chipped within a month. Dry just means the surface isn’t tacky; cured means the paint film has reached maximum hardness, which takes far longer than most people expect.
| Stage | Typical time | What you can safely do |
|---|---|---|
| Touch-dry | 1 – 4 hours | Handle edges carefully; keep the room dust-free |
| Recoat-ready | 2 – 4 hrs (waterborne enamel) / 16 – 24 hrs (alkyd/oil) | Apply the next coat |
| Dry enough to rehang | 48 – 72 hours | Reinstall doors and hardware gently |
| Fully cured | 21 – 30 days | Resume normal wiping, closing, and daily use |
Prep mistakes that cause peeling
Nearly every failure traces back to one of these, ranked by how often it’s the culprit:
Sprayer vs. brush and roller
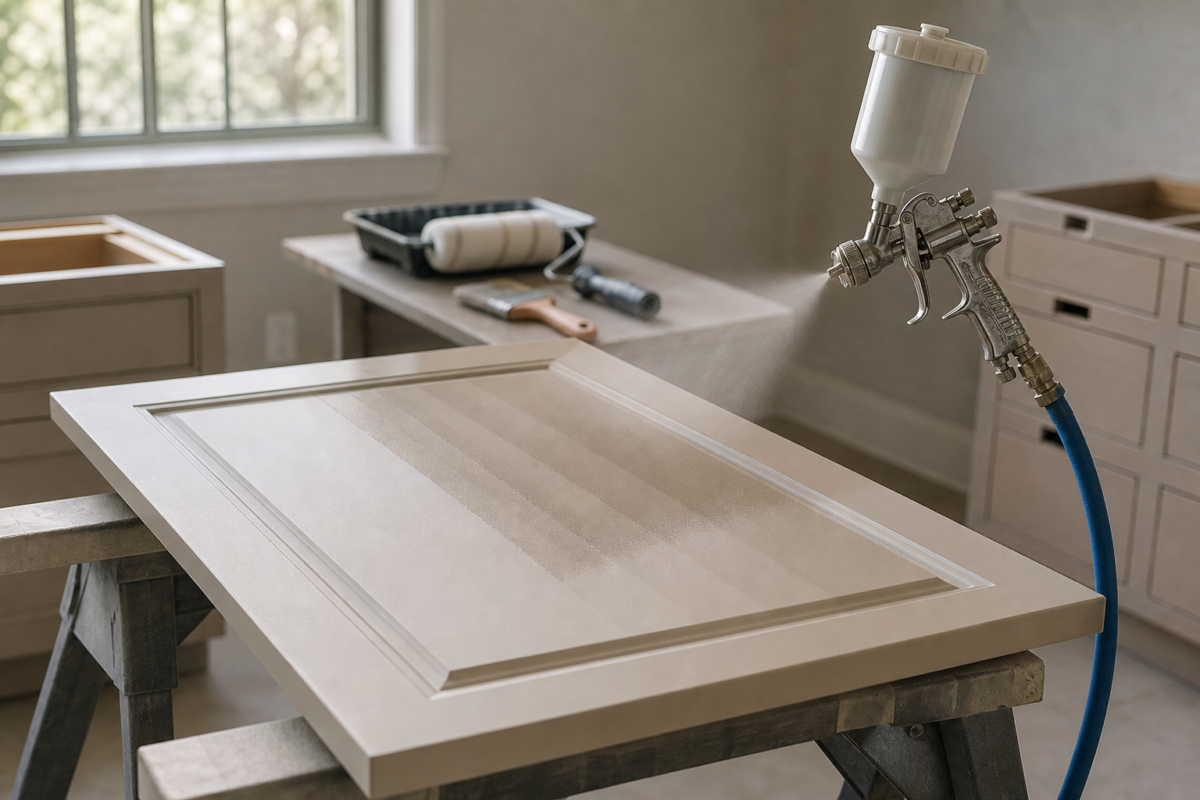
A brush-and-foam-roller combo is what most DIYers use, and it produces an excellent finish – brush the profiles, roll the flats. A paint sprayer (HVLP or airless, $40 to $70 per day to rent) gives the smoothest, most factory-like result and is faster on a large kitchen, but it requires masking the entire room and practice to avoid runs. For a first-timer, brush and roller is the safer choice; rent a sprayer only if you’re comfortable with the learning curve.
DIY cost vs. hiring a professional
Doing it yourself runs about $200 to $600 in materials, versus $2,500 to $6,000 to hire a pro shop to spray them off-site – so a week of mostly waiting on dry and cure times saves thousands and makes this one of the best kitchen remodel ROI projects available. If you’re weighing paint against new doors entirely, see the refacing section of our kitchen cabinet cost guide.
| Approach | Typical cost | Timeline | Finish quality |
|---|---|---|---|
| DIY, brush and roller | $200 – $600 | 1 week (mostly dry/cure time) | Very good; slight texture up close |
| DIY, rented sprayer | $350 – $750 | 1 – 1.5 weeks | Excellent, near-factory with practice |
| Professional spray refinish | $2,500 – $6,000 | 3 – 5 days shop time | Best; factory-smooth, often warrantied |
| Full cabinet replacement | $9,000 – $30,000+ | 3 – 8 weeks | New layout possible; highest cost |
Painting laminate or thermofoil cabinets
Solid wood and MDF take paint beautifully; slick laminate and thermofoil are trickier but doable with a specialized bonding primer made for glossy, nonporous surfaces, plus extra-careful degreasing and a thorough deglosser pass so the primer can grip. Skip any peeling or bubbling thermofoil – repair or replace those doors first, since paint will not fix a lifting surface. If the laminate is in good shape, a bonding primer and a hard enamel can give it a durable finish that holds up for years, or a spray shop can handle it if you’d rather not risk it yourself.
Best paint colors for cabinets in 2026
Timeless, neutral colors both look best and sell best: crisp whites and off-whites, warm greiges, and sage or muted greens are the most popular durable choices, with moody navy or charcoal as a striking option for an island. Two-tone kitchens – a painted island in a contrasting color against white perimeter cabinets – are a low-cost way to add interest. If you’re planning a color change alongside new counters, our kitchen countertop cost guide can help you budget both at once. Avoid trendy, saturated colors on every cabinet; they date fastest.
Reassembly and hardware tips
Add small felt bumpers to door and drawer edges so freshly painted surfaces don’t stick together while curing. This is also the moment to upgrade hardware: new knobs and pulls cost $20 to $100. If you’re switching from knobs to pulls or changing hole spacing, fill and re-drill before you paint, not after.
Can you paint cabinets without sanding?
You’ll see “no-sand” claims, and with a quality bonding primer you can sometimes skip heavy sanding in favor of a liquid deglosser – but never skip the degrease. A light scuff or deglosser pass gives the primer something to grip, and degreasing is non-negotiable no matter what primer you use. “Without sanding” really means “with minimal abrasion and the right primer,” not “with no prep.” Cut the prep entirely and the finish will peel.
How long a painted finish lasts, and how to make it last longer
Done right – degreased, sanded, filled, primed, and finished in a durable cabinet enamel – a painted finish lasts 8 to 10 years or more before it needs a refresh. Done wrong, it can start chipping within months. A few habits stretch that lifespan further:
- Use soft cloths, not abrasive sponges, for daily cleanup around the cabinet enamel finish.
- Add felt door and drawer bumpers to prevent chipping at every contact point.
- Wipe spills promptly – standing water is the finish’s biggest long-term enemy.
- Avoid slamming doors for the first month while the paint film fully cures.
- Touch up small chips early with leftover paint before they spread or trap moisture.
The bottom line
Painting kitchen cabinets is the highest-return budget project in the kitchen – but only if you respect the prep. Degrease, sand or deglosser, fill, prime, and use a real cabinet enamel in 2 to 3 thin coats, then give it the full cure window before treating it like a finished surface. Do that and you’ll get a durable, professional-looking finish for a few hundred dollars. Pair it with new hardware and a fresh kitchen backsplash for a complete refresh, or see our budget kitchen remodel ideas for more low-cost upgrades.
Your next move
You know the number. What are you deciding next?
Everything you need to plan a kitchen remodel in 2026 - budget, layout, cabinets, countertops, appliances, timeline, hiring,…
Continue →A kitchen remodel costs $18,000 to $120,000 in 2026, with a national average near $42,000. Here's the full…
Continue →Kitchen cabinets cost $80-$800 per linear foot installed in 2026. Here's what stock, semi-custom, and custom really cost,…
Continue →Frequently asked
How much does it cost to paint kitchen cabinets?
About $200 to $600 in materials to do it yourself, or $2,500 to $6,000 to hire a professional to spray them. DIY saves roughly $2,500 to $5,000, one of the best-return budget projects in a kitchen.
Do you have to sand cabinets before painting?
Yes, or use a liquid deglosser as a low-dust alternative. Scuff-sand with 120 grit to give the primer grip, then smooth with 220 grit. Skipping abrasion and degreasing is the main reason painted cabinets peel; a bonding primer helps but doesn’t replace prep.
What kind of paint and primer should I use on kitchen cabinets?
A hard cabinet enamel designed for high-touch surfaces, not wall paint – a waterborne acrylic-alkyd hybrid enamel is the best balance of durability and easy cleanup. Pair it with a bonding primer, and spot-prime stains or knots with a shellac-based primer so they don’t bleed through.
How long does it take to paint kitchen cabinets, and when are they fully cured?
Plan on about a week including dry times, with doors safe to rehang after 48 to 72 hours. Full cure takes 21 to 30 days, so handle cabinets gently and avoid harsh cleaners until then even though they look finished much sooner.
Why do painted cabinets peel?
Almost always because of grease or poor prep. Cabinets carry an invisible film of cooking grease that paint won’t bond to, so thorough degreasing, sanding or deglossing, filling damage, and a bonding primer are all essential to a finish that lasts.

Costs and timing are 2026 estimates for a typical DIY cabinet-painting project; results depend heavily on prep.